How to Prevent Cracks in Your Cheesecake
It can be frustrating when the cheesecake you slaved over turns out to be a little less pristine than you’d like. While cracks don’t affect the flavor, they do mar a little of that stunning appearance we know you want. Here, how to almost completely eliminate the chance for a little less-than-perfection.
Whether you’re a die-hard aficionado of traditional New York-style cheesecake or go crazy for fancier options like espresso or pumpkin, a smooth and creamy cheesecake is the goal. Sure, a few cracks in the top of your cheesecake don’t make it taste any less soul-soothing, but they are a little unsightly. You could, of course, just hide the fissures with fruit to make it pretty as pie (er, cake?) again. But that’s just not how we want to do things, now is it?
Knowing a few simple things about why those cracks appear can make it easy to prevent them.
Use room-temperature ingredients
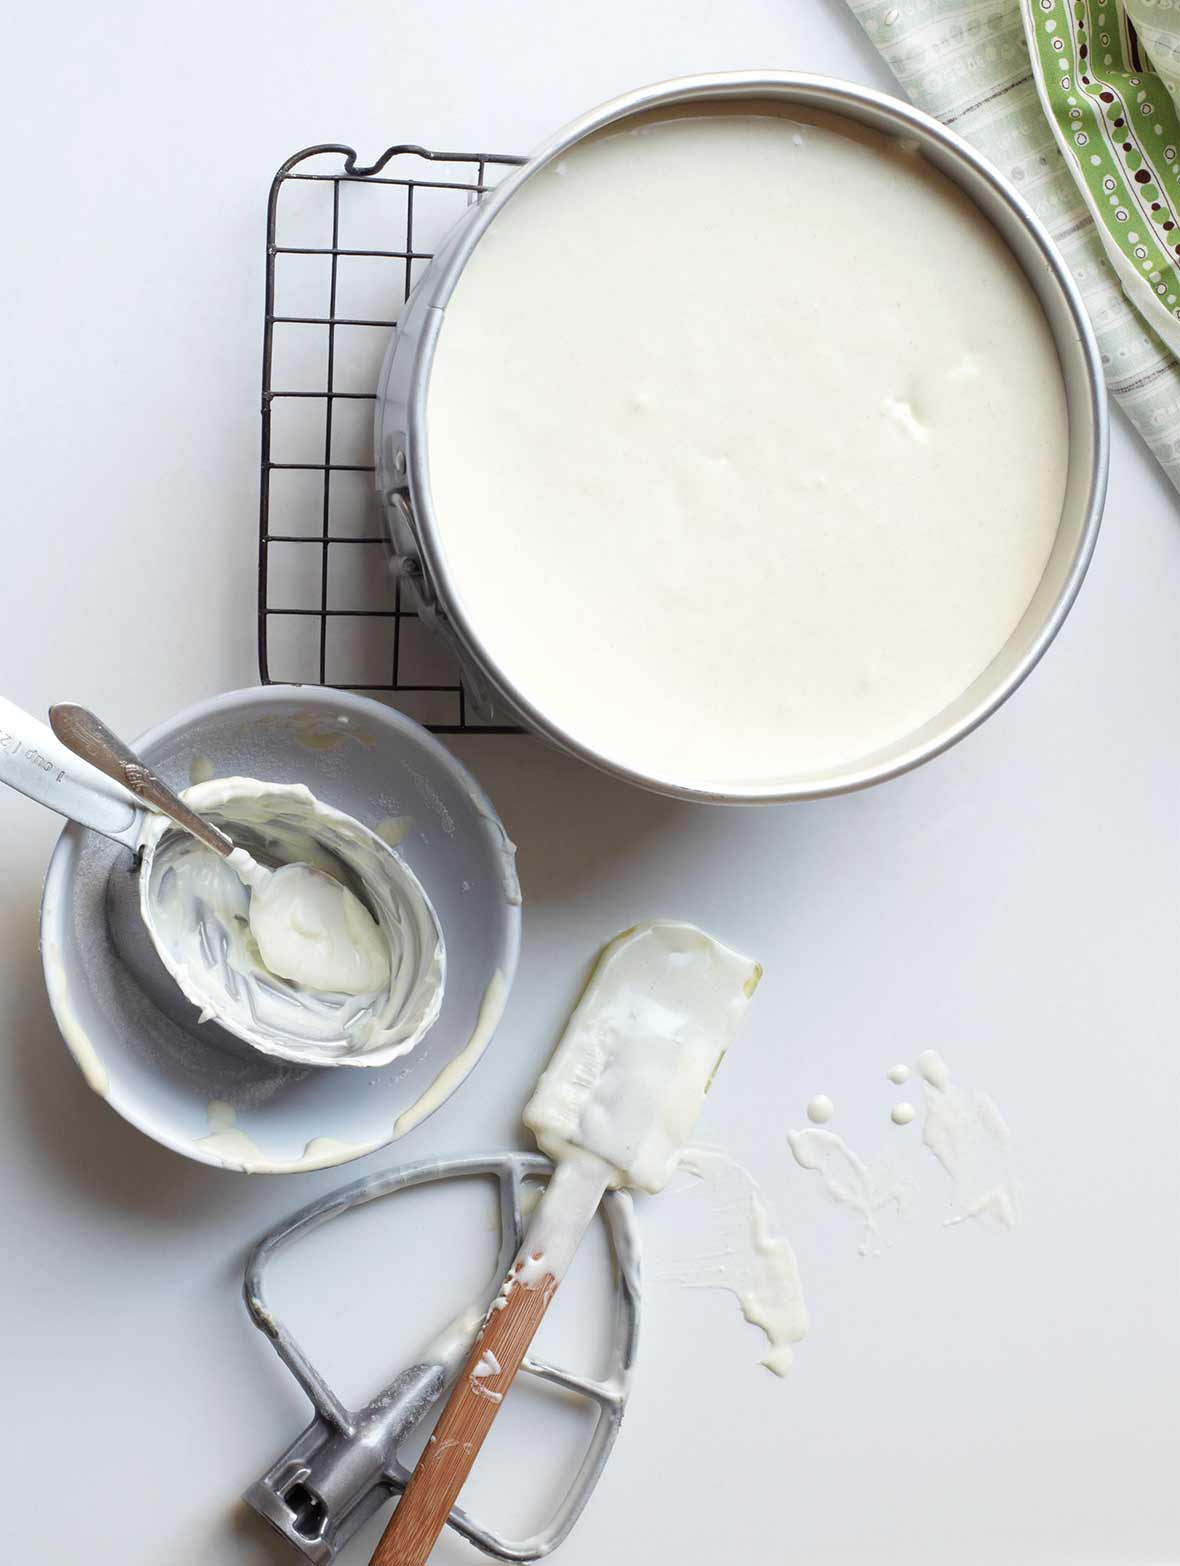
Make sure all ingredients are at room temperature before you start combining them so they easily blend into a creamy, clump-free batter without you needing to overmix, which so doing, add air into the batter. These air bubbles will expand and explode during baking, leaving areas of weakness that can contribute to cracking.
Mix slowly and smoothly
Just to reiterate the air bubble caveat above, mix everything with ease. This includes slowly and casually incorporating the eggs–also at room temperature, please-at the very end to further avoid air bubbles.
Butter the pan
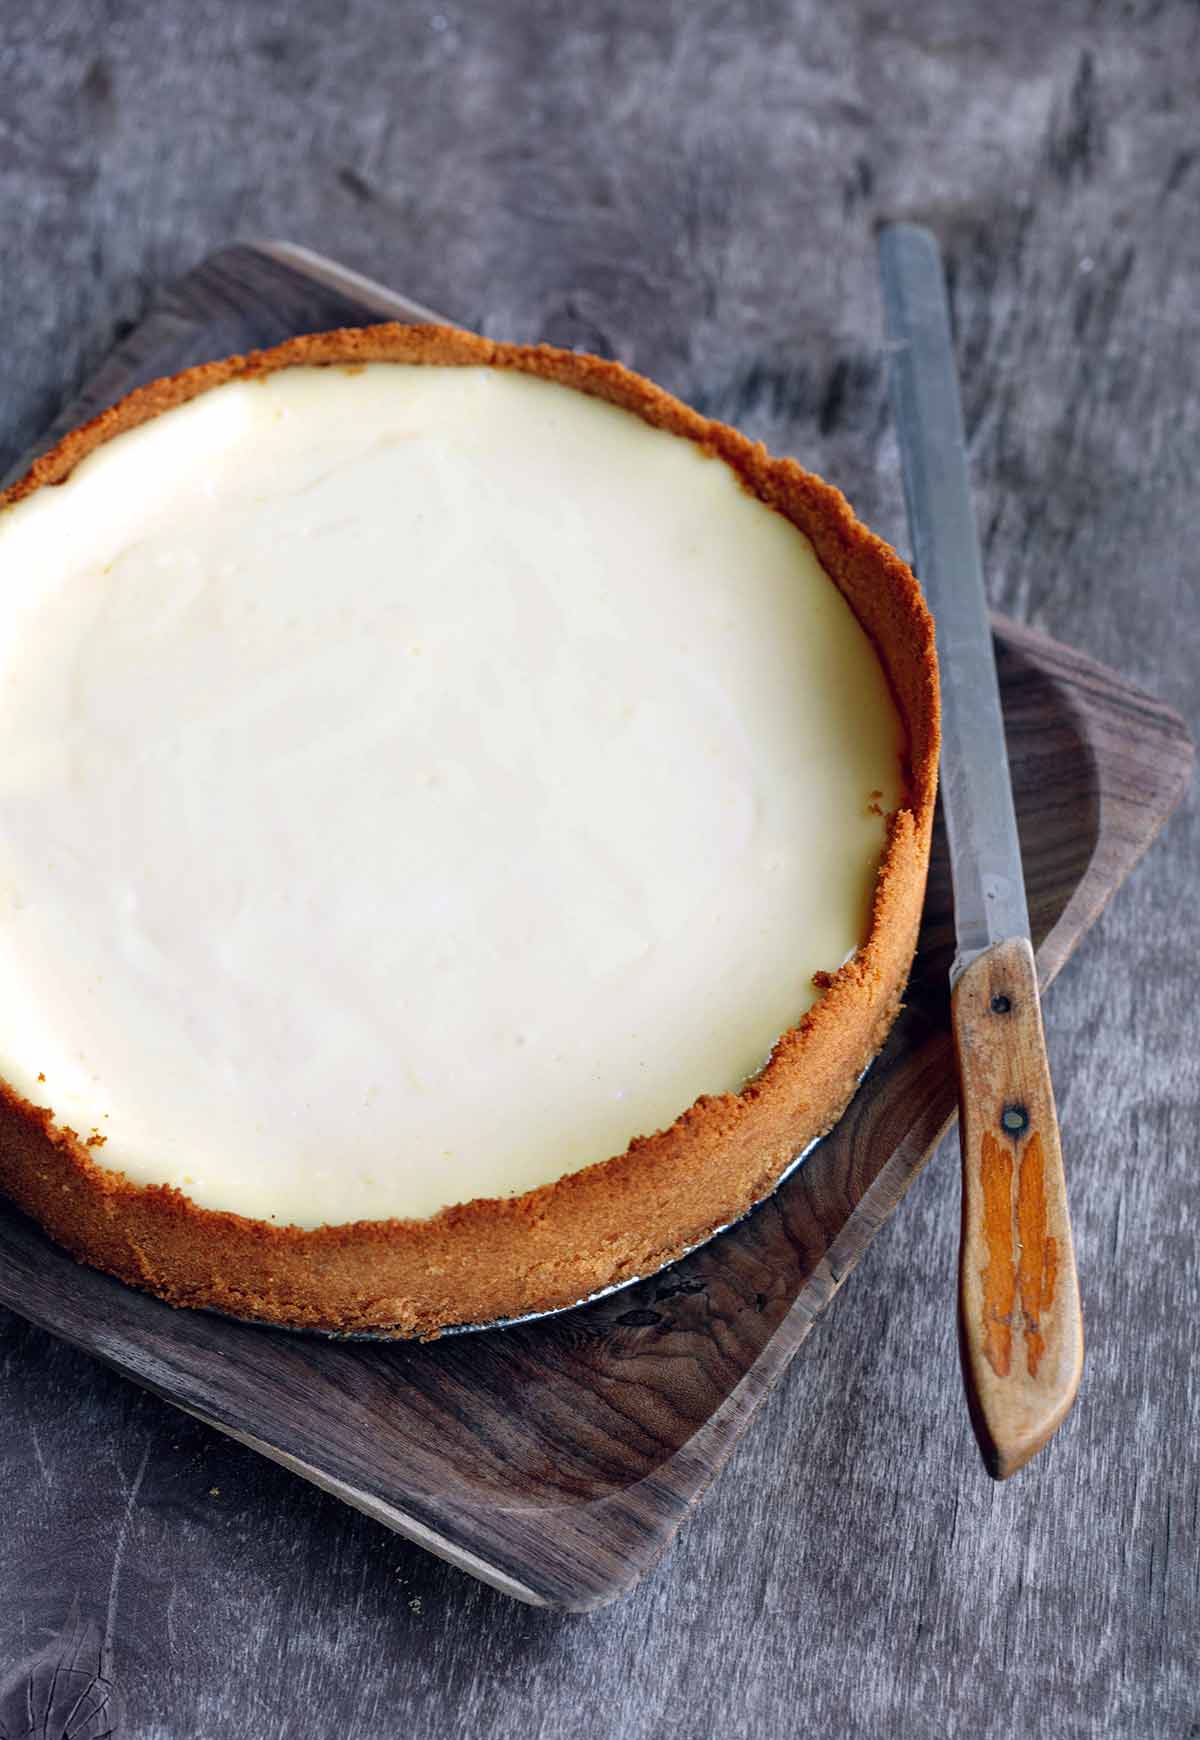
Even if you’re using a nonstick springform pan, make sure you generously butter the sides of your pan. Here’s why: The cheesecake batter will shrink as it bakes and then pull away from the sides of the pan. An unbuttered pan will cause the edges to stick as the center pulls away, causing tension and cracking. After pouring the batter into your pan, tap the pan on the counter two or three times to release any air bubbles inadvertently caused by mixing.
Adjust your oven rack
Cracks also can occur when the top of the cake bakes too quickly. So adjust your oven rack so it’s one position lower than the middle before baking your cheesecake.
Use a water bath
Low, slow, and humid is the way to a silky smooth cheesecake with nary a dry spot or crack. To keep the low oven temperature even and the air inside moist, bake the cheesecake in a bain-marie, or water bath. Wrap your springform pan in foil to ensure it’s leak-proof, fill with your cheesecake batter, and then set it inside a high-sided pan filled with hot water before putting the whole set up in the oven.
Don’t overbake it
While most baked desserts are done when the center is set, with a cheesecake, that’s actually a sign that it’s overbaked. And overbaked cheesecakes are dry and prone to cracking. So, how do you know when your cheesecake is done? When the outer rim is fairly firm yet the center still has a wobbly look sort of like just-set gelatin, that’s when you turn the oven off!

Cool it slowly
Cool your cheesecake in the turned-off oven with the door cracked for about an hour so the temperature gradually reduces. If you remove your creation from the warm oven too soon, the sudden temperature change may cause it to crack. After taking the cheesecake out of the oven, you can run a thin knife around the edge to ensure there’s no sticking to the side of the pans as the cake settles, which can also contribute to cracking.
And if the unthinkable still happens. . .
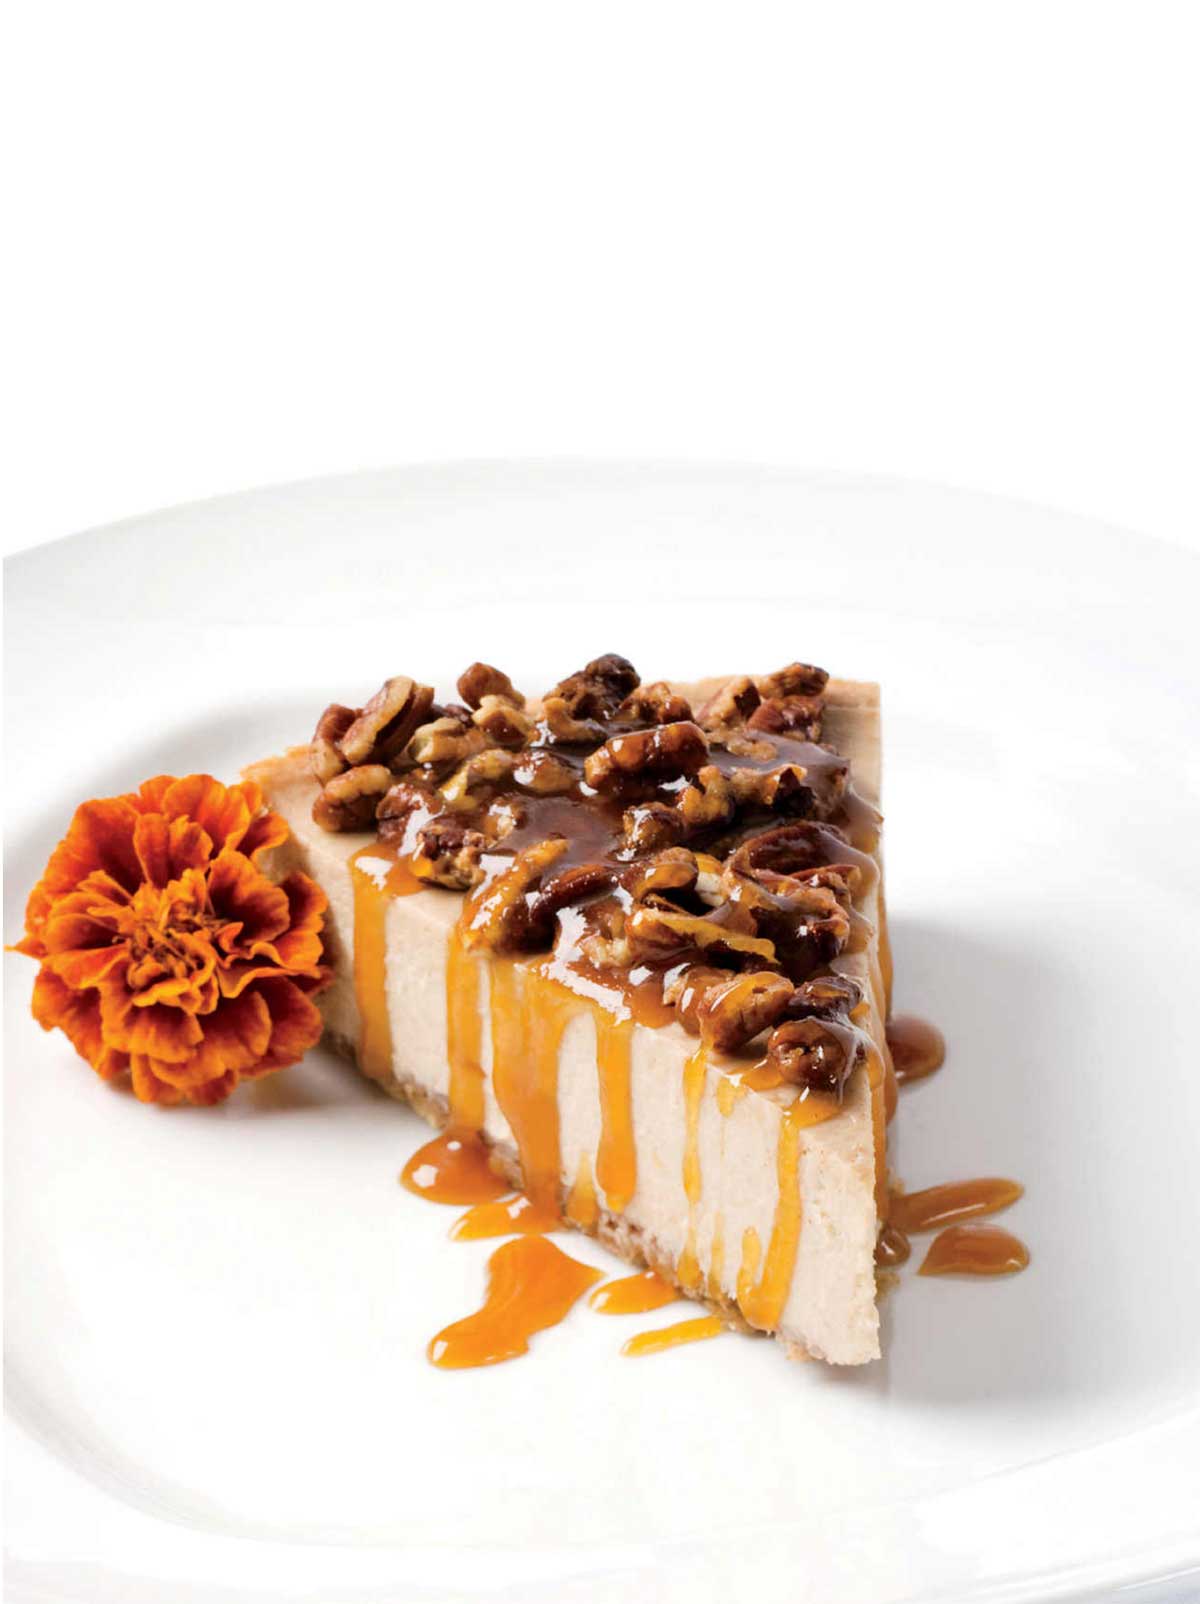
Even experienced cheesecake bakers occasionally end up with cracks, so don’t beat yourself up about it. You can slice and plate it in the kitchen with a simple fruit coulis, chocolate sauce, even toasted nuts and a maple rum sauce. Or save it as your personal breakfast cheesecake–we won’t tell. Still worried? Toss together this no-bake cheesecake and you’ll pretty much eradicate the potential for error.
from Leite's Culinaria https://ift.tt/3oG1ZZT https://ift.tt/3cvyJ5D


Comments
Post a Comment